How to Apply a Watch Protective Film Without Bubbles
Installing a watch protective film is easy once you know the simple tricks, and the best method involves cleaning your watch face perfectly and using a hinge technique to avoid bubbles. You can get a flawless, invisible shield in under five minutes without any special tools. The key is to work in a dust-free space and not to panic if you need to lift and reapply the film.
We found that most people struggle not with the film itself, but with dust and fingerprints getting trapped underneath during setup. This guide covers the entire process, from what you need to prepare to a foolproof way to squeeze out air bubbles. We will also share our research on the best protector types for different watch styles, so you pick the right one for your wrist.
TL;DR — watch protective film installation at a glance:
- Prep first: Wash your hands and clean the watch face with a microfiber cloth or alcohol wipe.
- Go dust-free: Use a dust-removal sticker right before you drop the film on.
- Use the hinge method: Align one edge first, then slowly lay the film down.
- Squeeze out bubbles: Push them to the edge with a soft card or your finger.
- Fix mistakes: Lift the edge with tape and reapply—you can do this safely within a few minutes.
If you are tired of tiny scratches ruining your watch face, you are in the right place. Below, we break down the entire installation process step by step, along with expert tips to make it look professional every single time.
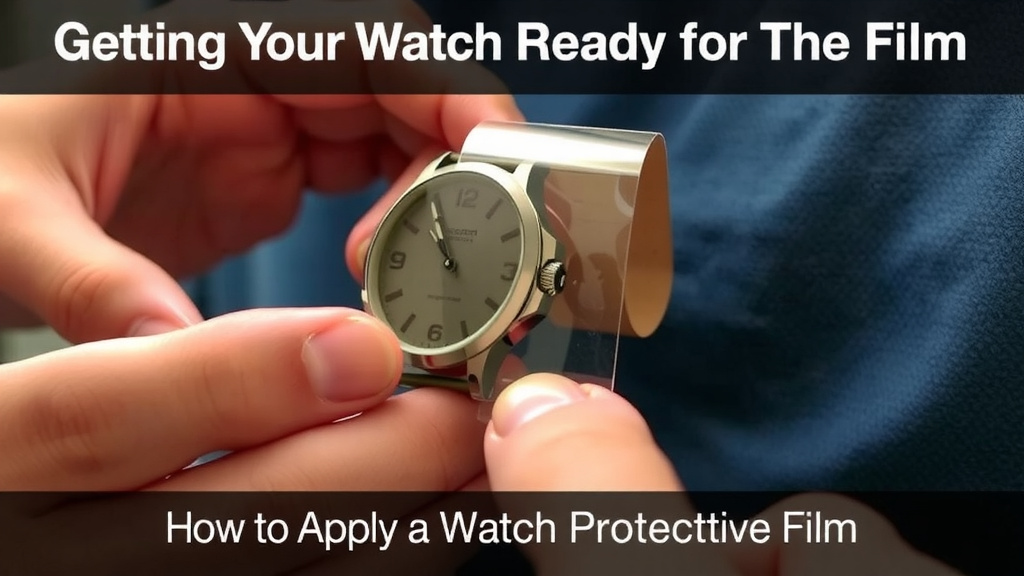
Getting Your Watch Ready for the Film
Before you even open the package, you need a clean surface to work on. We found that most installation fails happen because people rush this step. A dusty watch face is your enemy number one.
Pick a spot away from fans, pets, and high-traffic areas. The bathroom right after a hot shower actually works great. The steam settles dust particles to the ground, giving you a cleaner workspace (Mayo Clinic recommends steam exposure for other reasons, but it works for this, too).
Wash and Dry Your Hands and Wrist
Natural oils from your skin are invisible, but they leave streaks on glass. Wash your hands with plain soap, not moisturizing lotion. Lotion leaves a residue that transfers right to the watch face.
Take the watch off your wrist while you apply the film. We know it feels awkward, but working with the watch flat on the table gives you a steady angle. You will thank yourself later when the film lines up perfectly.
Clean the Watch Face Thoroughly
Use the microfiber cloth that came in the box. If your kit does not include one, any clean lens cloth works. Wipe the entire face in one direction, not circles. Circles just move dust around instead of lifting it off.
For stubborn fingerprints, use an alcohol wipe. Let it dry completely before you continue. Any leftover moisture traps bubbles under the film, and nobody wants that look on their wrist.
Our research found that a quick final inspection under a bright light helps. Tilt the watch at different angles. You will spot tiny specks you missed. Catch them now before the film goes on.
Using the Dust Removal Sticker
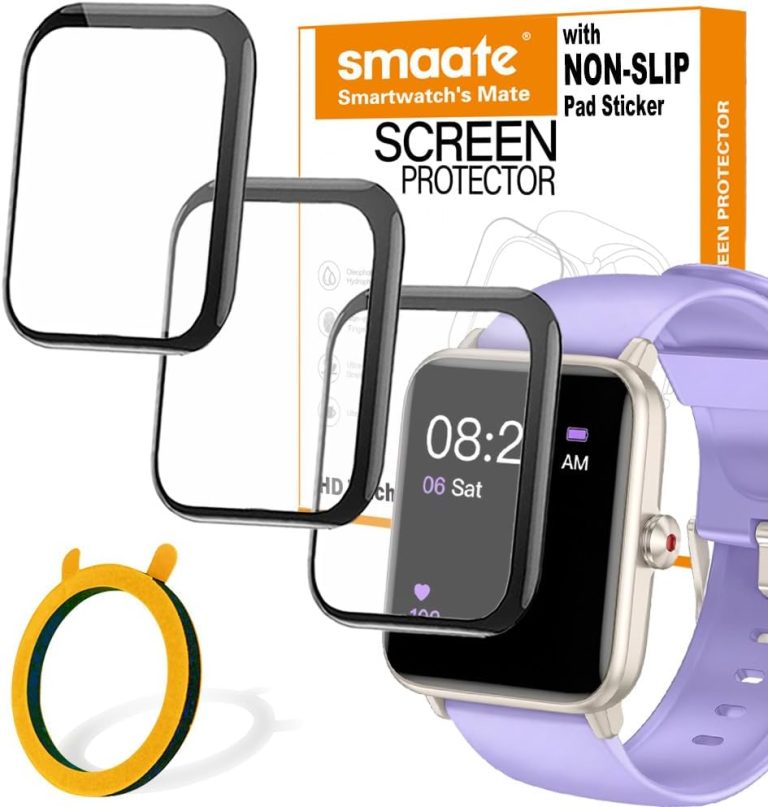
Most kits include a sticky tab for dust removal. Peel it off and gently press it onto the watch face. Lift and repeat a few times. This picks up particles a cloth cannot touch.
Do not touch the sticky side with your fingers. That transfers oil straight back onto the glass. Use the little tab handles keepers if it has them.
Matching Film Type to Your Watch Style
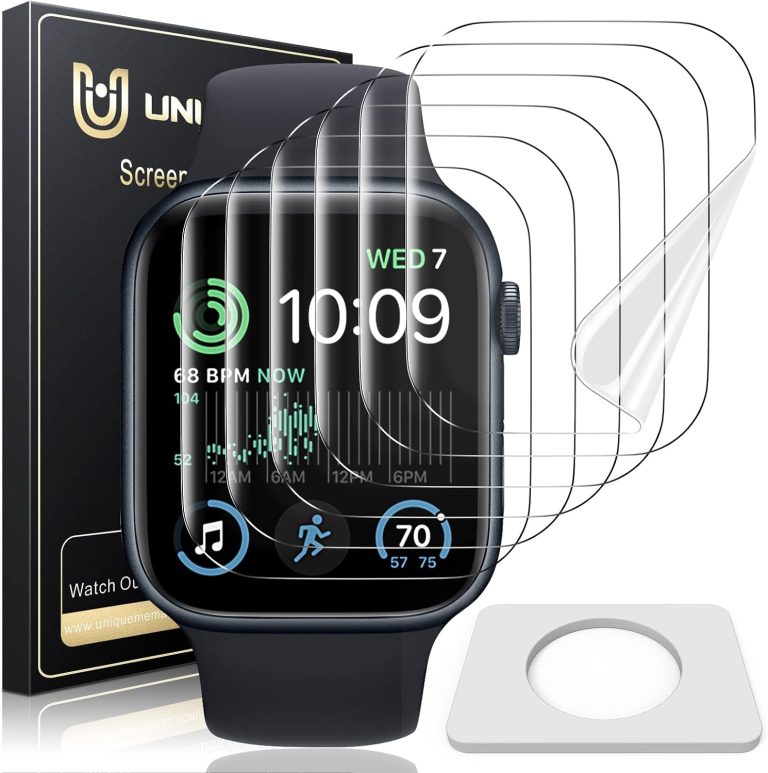
Not all protective films look or behave the same. We found that picking the right type saves you frustration later. There are three main options, and each one suits a different lifestyle.
Clear PET films are the hard, thin plastic ones. They resist scratches and feel closest to bare glass. These work well for everyday office wear where you want minimal visual change.
TPU films are softer and self-healing. Tiny scratches disappear over time with body heat. Active folks and outdoor enthusiasts usually prefer these because they absorb impact better. For a closer look at a self-healing TPU film, our IPG review covers real-world performance.
Matte anti-glare films cut down on reflection. They feel slightly rubbery to the touch. If you work outside or in bright offices, these save your eyes from glare.
| Film Type | Best For | Trade-Off |
|---|---|---|
| Clear PET | Dress watches, daily wear | Can show fingerprints |
| TPU (self-healing) | Sports, outdoor activities | Slightly softer feel |
| Matte anti-glare | Bright environments | Reduces screen clarity slightly |
Checking Your Kit for Complete Tools
Open everything before you start. A good kit includes the film, a microfiber cloth, alcohol wipes, dust stickers, and a squeegee card. Missing tools do not mean a bad product, but you avoid scrambling mid-installation.
If your kit lacks a squeegee card, a clean credit card wrapped in a soft cloth works fine. Many experts say a gentle edge from any rigid plastic does the job.
Applying the Film with the Hinge Technique
This is the method that changed our installation game. The hinge method prevents half the bubbles and misalignments that frustrate people. It takes about thirty extra seconds, and the payoff is huge.
Peel the film from its backing and hold it between your thumb and index finger on opposite corners. Do not touch the adhesive side. Ever. One fingerprint means a permanent smudge under the glass.
Aligning the Edges First
Hold the film about an inch above the watch face. Look for the alignment guides printed on the film itself. Many films have a clear tab that helps you center it over the crystal.
Drop one edge onto the watch, usually the top or left side. This creates a hinge. Check the alignment here before you commit. The bottom half still hangs free, so you can adjust without peeling anything back.
Once the first edge lines up, press it down gently with your fingertip. Keep the other half hovering. This is your anchoring point.
Slowly Rolling the Film Down
Lower the free half slowly, like closing a laptop lid. Do not just drop it. Gravity does most of the work if you go at a steady pace. The film should contact the glass in a wave pattern, not all at once.
Watch the leading edge as it touches. If bubbles appear here, they will travel later. Keep the motion smooth and even. We found that going too fast creates more air pockets, so patience is your friend.
Working Out Bubbles with the Squeegee
After the film rests fully on the face, take your squeegee card or wrapped credit card. Start from the center and push outward, like sweeping water off pavement. Work in straight lines toward the edges.
Do not go back and forth. One direction only, from middle to sides. This pushes air out, not back in. Medium pressure works best. Pressing too hard can stretch the film, creating wrinkles that never settle.
Small bubbles that remain often disappear within 24 hours as the film relaxes. That is normal for TPU films especially. Give it a day before you judge the final result.
Handling Stubborn Edge Lifting
Curved watch faces sometimes make film edges lift at the corners. Check the edges after your initial squeeze-out. Press down with a fingertip for ten seconds to help adhesion.
Some folks use a hairdryer on low heat for curved watches. Light warmth makes TPU more pliable, so it molds to gentle curves. Keep the dryer a foot away and do not overheat the watch, unless you want a warm wrist.
Rescuing a Botched Installation
Nobody gets it perfect on the first try. We found that lifting and reapplying is safer than living with a dusty bubble. The good news is the adhesive stays tacky for several minutes after application.
Do not panic. The film is tougher than it looks. A gentle lift at a corner with a piece of tape will peel it away cleanly, without permanent damage.
Using Tape to Lift and Reposition
Cut a small strip of clear tape, about an inch long. Press one end onto the corner of the film. Leave the other end free so you have a handle to pull.
Peel the film back slowly at a steep angle, around 45 degrees. This keeps the adhesive clean. Do not fold the film over on itself, that creates creases that never smooth out.
Once the film is off, check both the film and the watch face for dust. Use your dust sticker again. Wait, you might need to clean both surfaces again, then reapply using the hinge method from the start.
Dealing with Dust That Sneaks In
Dust happens even in the cleanest rooms. If a speck lands between film and glass, you have two choices. Leave it and hope you forget, or lift and fix it.
For tiny specks, some people use a piece of tape to dab the dust off the adhesive. Press the tape onto the spot, lift gently, and the particle pulls away. This trick works best within the first few minutes.
For larger dust bits, reapply completely. The extra five minutes beats staring at a black dot on your wrist every day. Yes, your watch is that important.
Finishing Touches After Installation
Your film is on, and it looks great. Give the watch one final wipe across the outside of the film with a clean part of the microfiber cloth. This clears any residual oils from your fingers.
Let the film cure for at least an hour before you wear the watch. Some adhesives continue to bond over the first 24 hours. Avoid hitting the watch against hard surfaces during this time, just to be safe.
Daily Care for Your New Film
Once installed, the film needs minimal upkeep. Wipe it with a dry microfiber cloth when it looks smudged. Water and mild soap are okay for most films, just dry them afterward.
You will know it is time for a new film when you see deep scratches or peeling at the edges. That is normal wear. The goal is protecting the glass underneath, so a well-worn film means a pristine watch face.
Use this quick checklist before your next installation to ensure a smooth experience:
- Wash hands with plain soap and dry completely.
- Clean the watch face with alcohol, then let it dry.
- Inspect under bright light for missed dust specks.
- Use the dust removal sticker right before the film drops.
- Align one edge and hinge the rest down slowly.
- Push bubbles outward with a soft squeegee from center to edge.
Knowing When to Replace the Film
A good protective film lasts three to six months with daily wear. Active lifestyles wear through them faster. Check your film monthly for cloudiness, which means it is reaching the end of its life.
Replacing your film is quick once you have done it before, so you will not mind the occasional swap. Consider it a small price for keeping the face of your watch beautiful for years to come. And that is worth every minute of careful installation.
Conclusion
You now have everything you need to install a watch protective film like a pro. The whole process comes down to three things: prep your workspace, clean the glass perfectly, and use the hinge method when you drop the film. Remember that dust is your biggest enemy, and the sticky tab is your best friend.
Do not stress about perfection on your first try. You can lift and reposition the film safely for a few minutes, so take your time. If a bubble shows up, squeeze it out from the center. That is the whole secret.
Your next step is simple: grab your watch kit, set up a clean space, and give it a shot. You will have a crystal-clear face in under five minutes, and you will wonder why you waited so long.
Frequently Asked Questions
Can I reuse a watch protective film after lifting it off?
Usually, yes, as long as you remove it within a few minutes of applying it. The adhesive stays tacky short-term, which lets you reposition without ruining the film. Once dust or lint sticks to the adhesive side, we recommend using a fresh film for the best result.
Will a protective film hide existing scratches on my watch face?
No, a film will not fill in or hide scratches that are already on your glass. It creates a new layer on top, so the scratches underneath remain visible. The film does prevent new scratches from forming, which is its main job going forward.
How long should I wait before wearing my watch after installing the film?
We recommend waiting at least one hour, though 24 hours is even better. The adhesive needs time to fully bond with the glass. If you wear the watch right away, you risk shifting the film or trapping moisture under the edges.
Why does my watch film look cloudy after a few weeks?
Cloudiness usually means the film is reaching the end of its lifespan, especially if you wear your watch daily. Oils, sweat, and general wear break down the top layer over time. If a quick wipe with a microfiber cloth does not fix it, a replacement film is the answer.
Can I use soap and water to clean my watch film?
Yes, mild soap and water are perfectly safe for most protective films. Mix a tiny drop of dish soap with water, wipe the film gently, and dry it with a soft cloth. Avoid harsh chemicals like acetone, which can damage the film’s surface.