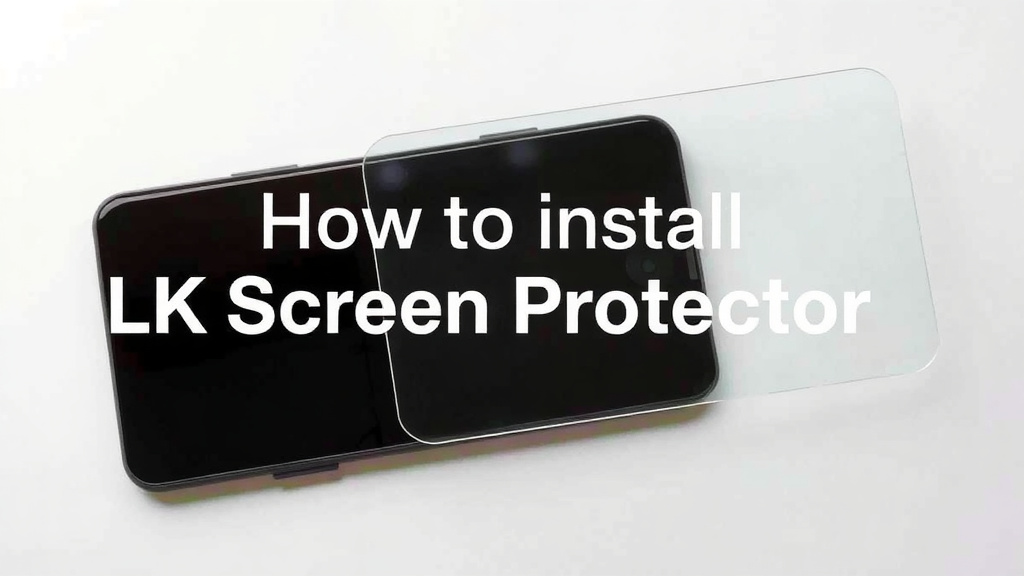
How to Install an LK Screen Protector: Video Guide
The quickest way to learn the correct installation steps is to watch an LK screen protector installation video before you even open the package. The easiest method is to watch the official video for your specific model, as the alignment tools and adhesive strips vary by device. This simple step prevents bubbles, dust, and misalignment before you even start.
Applying a glass protector can feel stressful, but you don’t have to do it alone. LK screen protectors use a specialized alignment frame, which makes the process much easier than standard adhesive versions. We found that the key to a perfect finish is following the video’s timing for the air bubble removal step, not just the placement. Watching a quick tutorial first saves you time and materials, especially since you only get one glass panel in the box.
- Watch the official LK video first for your exact phone model.
- Clean your hands and workspace in a steamy bathroom to reduce dust.
- Use the included alignment frame to drop the glass perfectly flat.
- Follow the bubble removal steps in the video to press out air pockets.
- Check for dust under the glass immediately before the adhesive sets.
Below, we break down exactly how to watch, prepare, and execute the installation step by step so you get a flawless fit on your first try.
Watching the LK Screen Protector Installation Video the Right Way
The official LK video is your best friend here. You can find it on the product page or by scanning the QR code on the box. We found that watching it on a tablet or laptop next to you works better than watching on your phone.
Why? Because you need both hands free. Plus, a bigger screen lets you see the tiny details, like how the adhesive reacts to pressure. Do not try to memorize the steps and then start. Watch it once fully, then replay it as you go.
Finding the Exact Video for Your Phone Model
LK makes protectors for many phones. The install steps can look similar, but the alignment frame is different for each model. Searching for “LK screen protector installation video” alone might give you the wrong phone.
Type in your exact phone model. For example, “LK screen protector installation iPhone 15 Pro Max.” This small step saves you a ton of confusion. The frame clicks in differently depending on the device.
Checking the Video Length Before You Start
Most official videos run between 2 and 4 minutes. That is short. If you see a 10-minute video from a random user, it might include extra tips, but it could also confuse you. Stick to the official one first. We found that the official video shows the exact timing for pressing out bubbles, which is critical.
Setting Up Your Workspace for a Dust-Free Install
Dust is the enemy. One tiny speck under the glass will annoy you every time you look at your screen. The best trick is to run a hot shower for a few minutes. The steam in the air weighs down dust particles, so they fall to the floor instead of floating around.
Bring your phone, the LK kit, and your video device into the bathroom. Close the door. Let the room get steamy for about 3 to 5 minutes. Then, wipe down the sink area and lay out your tools.
Gathering All the Tools Before You Touch the Glass
Do not open the LK package until you are ready. The kit includes the glass, the alignment frame, wet wipes, a dry cloth, and dust removal stickers. Lay them out in the order you will use them.
- Wet wipe: Cleans off fingerprints and oils.
- Dry cloth: Wipes away any leftover moisture.
- Dust stickers: Lift away any tiny particles you missed.
- Alignment frame: Holds the glass in the perfect position.
- The glass panel: Your one and only shot at a perfect install.
Keep the video paused at the cleaning step. That way, you can follow along exactly without scrambling for the next tool.
Washing Your Hands First
Your hands have natural oils that transfer to the glass. Even if you use the wet wipe, touching the adhesive side with dirty fingers ruins it. Wash your hands with soap and dry them with a lint-free towel. We found that this simple step prevents most smudging issues.
Cleaning Your Phone Screen Like a Pro
This is where most people mess up. They wipe the screen once and think it is clean. In reality, dust settles right back down. The LK video shows a specific motion, and it matters. Use the wet wipe in a single direction, not in circles.
Circles spread oils back onto the screen. A straight sweep pushes dirt to one edge. After the wet wipe, immediately use the dry cloth to buff the screen. Check the screen at an angle under a bright light to spot any streaks.
Using the Dust Removal Stickers Correctly
The stickers are sticky on both sides. You fold one over your finger and tap it across the screen. This lifts tiny dust particles that the cloth missed. Watch how the person in the video holds the sticker. It is usually at a slight angle.
Do not press hard. A gentle tap is enough. If you press too hard, you might leave a sticky residue. We found that checking the screen one last time before placing the glass is the difference between a clean install and a bubbly mess.
Positioning the LK Alignment Frame Accurately
The frame is designed to snap onto your phone. It takes the guesswork out of centering the glass. Place it on the phone and press down until you hear a click. The click means it is seated correctly.
If the frame feels loose, take it off and re-seat it. A loose frame shifts the glass off-center. The video shows this step clearly, so pause and compare your frame to the one on screen.
Why the Frame Keeps the Glass Level
LK protectors use a special adhesive that flows outward. The frame holds the glass perfectly level while the adhesive spreads. If you drop the glass at an angle, one side sticks first and traps air.
The frame prevents that. It guides the glass straight down. You just pull the plastic tab and let the glass drop naturally. Do not push it down with your fingers. Gravity does the work.
What to Do If the Frame Does Not Fit
This is rare, but it happens. Check that you have the correct model. The frame should match the outline of your phone exactly. If it does not snap in, stop. Do not force it. Forcing the frame bends it, and then the glass will not align properly.
Executing the Glass Drop and Letting the Adhesive Flow
Now, you watch the video closely. The person removes the plastic liner and aligns the glass with the frame. Then, they pull the tab. The glass falls flat, and the adhesive spreads from the center outward. This takes about 30 seconds.
Do not touch the glass during this time. Let the adhesive move on its own. If you press too early, you trap air. Wait until the video shows the next step before you do anything.
Pressing Out Stubborn Air Bubbles
Some bubbles are normal right after the drop. The video shows a specific technique for removing them. You use your thumb or the included squeegee to push bubbles toward the edge. Start at the center and move outward.
We found that using the side of your thumb, not the pad, gives better control. Press firmly but not hard enough to crack the glass. If a bubble does not move, stop. Pushing harder will not help. You might need to lift the corner slightly to let the air escape.
Timing the Bubble Removal Step
The adhesive stays liquid for a few minutes. The video shows the exact window for pressing out bubbles. If you wait too long, the adhesive sets, and bubbles get trapped forever. Pause the video at this step and keep it on screen while you work.

Handling Dust Bubbles If They Appear
If you see a bubble that looks like a tiny dot, that is dust. Air bubbles are clear and flat. Dust bubbles look like a speck with a shadow. If you catch it early, you can fix it. Lift the nearest corner of the glass with your fingernail.
Use a dust sticker to lift the particle off the screen. Then, lower the glass back down. The adhesive will reflow and fill the gap. This trick works only in the first few minutes. After that, the adhesive is too stiff.
Using the Video to Know When You Are Done
The video ends with a final inspection step. You look at the screen from different angles to check for bubbles. You also test the touch response. Follow along with this checklist before you throw away the packaging:
- Check all four corners for lifting edges.
- Look at the screen at a 45-degree angle for rainbow spots.
- Test the fingerprint sensor if your phone has one.
- Run your finger across the edges to feel for sharp glass.
- Wipe the screen one final time with the dry cloth.
- Remove the frame only after the adhesive is set.
Many experts say that the final inspection is the most skipped step. People get excited and put their case on immediately. Wait a few minutes. The adhesive continues to cure for about 10 minutes.
Common Mistakes People Make During Installation
We found that most failed installs come from rushing. People skip the cleaning step or drop the glass too fast. Here is a quick comparison of what works and what does not:
| Common Mistake | Why It Fails | What the Video Shows Instead |
|---|---|---|
| Skipping the steam shower | Dust floats in the air and lands on the adhesive | Install in a steamy bathroom or closed room |
| Pressing the glass down with fingers | Traps air bubbles under the glass | Pull the tab and let gravity drop the glass |
| Using the wet wipe in circles | Spreads oils back onto the screen | Wipe in straight lines from top to bottom |
| Rushing the bubble removal | The adhesive sets with air pockets inside | Press bubbles out within the first 2 minutes |
| Forgetting to check for dust | Lifting the glass later is risky | Inspect under bright light before dropping the glass |
Keep this table in mind while you watch the video. Every mistake listed here is preventable. The video exists to help you avoid these exact problems.
Why Watching the Video Twice Is Worth It
The first watch gives you the big picture. The second watch helps you notice small details, like how the person holds the dust sticker or how fast they pull the tab. We found that people who watch twice have a much higher success rate on the first try.
You only get one glass panel in the box. If you mess up, you have to buy another kit. Watching a 3-minute video twice takes less time than ordering a replacement and waiting for shipping.
What to Do After the Adhesive Cures
Once the video ends, you might think the job is done. Not quite. The adhesive takes about 10 minutes to fully set. During this time, avoid pressing on the screen or putting on a tight case.
Set your phone down on a flat surface. Let it rest. The glass will settle into its final position. If you use your phone immediately, the pressure from typing can shift the glass slightly. This creates micro-bubbles along the edges.
Testing Touch Sensitivity and Clarity
After 10 minutes, unlock your phone and swipe around. The screen should feel smooth. The clarity should be crystal clear. If you notice a rainbow effect, it is usually trapped moisture. This can happen if you installed in a very humid bathroom.
Wait 24 hours. The moisture usually evaporates through the glass. If the rainbow stays, the glass may be defective. But that is rare. The LK video usually mentions this in the troubleshooting section.
Putting Your Phone Case On
This is the final step. Some cases are tight and push the glass edges upward. Watch the video to see if the person recommends a specific case type. If your case is too snug, the glass might lift at the corners.
If that happens, press the corner down gently. Hold it for 10 seconds. The adhesive should re-seal. If not, you might need a slightly looser case. The video often addresses this compatibility issue for popular phone models.
Conclusion
You have everything you need to nail this install on your first try. The secret is simple: watch the LK screen protector installation video before you open the box. Then, set up a clean workspace and follow along step by step.
We covered the dust-free bathroom trick, the proper cleaning motion, and how to use the alignment frame correctly. You also learned the exact timing for pressing out bubbles and how to handle dust if it sneaks in.
Your next step is easy. Grab your phone, find the official video for your exact model, and press play. Take your time. You only get one shot with that glass panel, so let the video be your guide. You will be staring at a flawless screen in about five minutes.
Frequently Asked Questions
Can I use a hair dryer to remove bubbles from my LK screen protector?
We do not recommend using heat on your LK glass protector. The adhesive is designed to flow at room temperature. Heat can warp the glass or cause the adhesive to cure too fast. Stick to the manual pressing technique shown in the official video.
How long should I wait before putting my phone case on after installation?
You should wait at least 10 minutes for the adhesive to cure. Some tight cases can lift the edges if you put them on too soon. We found that waiting 15 minutes is even safer. Press down any lifted corners gently if your case feels snug.
What if my LK screen protector cracks during installation?
Remove the broken glass carefully and dispose of it safely. Check if your LK kit includes a warranty card. Many brands offer a replacement if you register your purchase. For your next attempt, watch the installation video one more time and focus on the drop step.
Is it normal for my screen protector to have a rainbow effect after install?
A slight rainbow or oil-slick effect is common right after installation. This usually happens from trapped moisture in a humid room. Wait 24 hours and it should disappear. If it stays, contact LK support. We found this is rare and often a defect in the glass.
Can I reapply my LK screen protector if I mess up the first drop?
The adhesive on LK protectors is one-time use. Once the glass touches your screen, the adhesive bonds immediately. Lifting it up will trap dust and weaken the bond. We recommend you watch the video twice before you even open the package so you get it right the first time.