
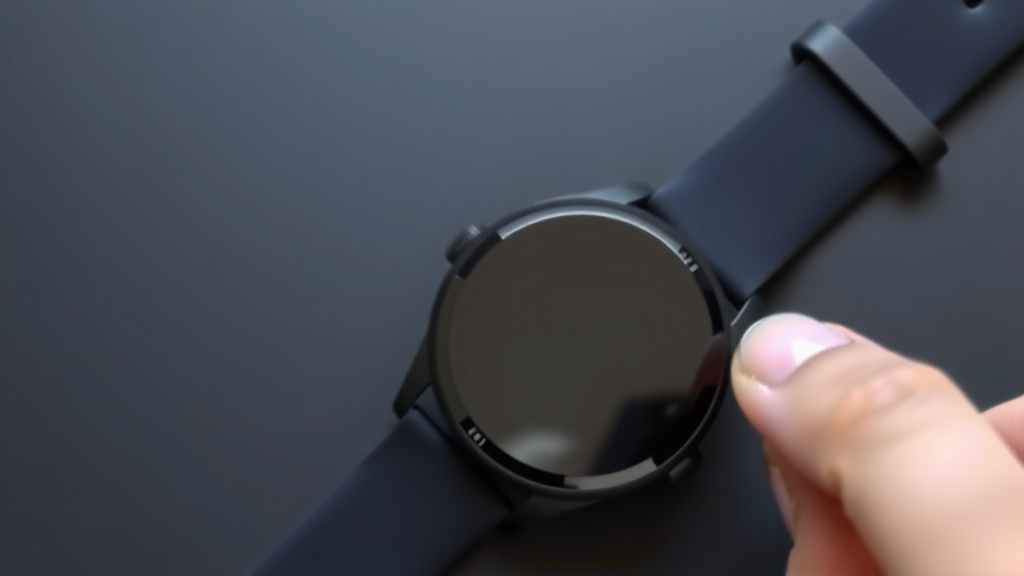
Smart Watch Back Cover Removal: A Step-by-Step Guide
Removing the back cover of your smartwatch might seem tricky, but it’s usually quite manageable with the right tools and a little patience. Most smartwatches require a small tool, often a SIM card ejector or a thin pry tool, to gently release the back casing. Be sure to check your specific model, as some may use tiny screws instead of clips. We’ve found that gentle pressure is key.
Understanding how your smartwatch is constructed is the first step to safely accessing its interior. Many smartwatches feature a snap-on or glued-on back cover, designed to protect the internal components from dust and water. Knowing whether yours is secured by clips or adhesive can prevent accidental damage. We recommend doing a quick search for your specific watch model’s manual or online teardowns for the best approach.
TL;DR:
- Most smartwatch back covers can be removed with a small tool.
- Look for tiny screws or a pry point to release clips.
- Gentle force is essential to avoid damaging your watch.
- Always check your specific model for the best removal method.
Let’s walk through exactly how to get that back cover off your smartwatch, step by step.
Accessing Your Smartwatch’s Interior: A Step-by-Step Guide
So, you need to get under the hood of your smartwatch? We get it. Maybe you’re curious about the tech inside, or perhaps you’re attempting a repair or battery replacement. Whatever your reason, knowing how to safely remove the back cover is step one. It’s often less about brute force and more about understanding the watch’s design. Most smartwatch backs are designed to be removed, but the method can vary quite a bit.
Identifying Your Smartwatch’s Back Cover Type
Before you grab any tools, take a good look at your watch. The first thing to figure out is how the back cover is attached. We found that most smartwatches fall into one of two categories: those with removable screws and those with a snap-on or glued-on back. The approach you take will depend entirely on which type you have. For instance, Apple Watch models often have a glued-on back, while some Garmin or Samsung models might have tiny screws.
Screw-Secured Back Covers
If you see small screws around the perimeter of your watch’s back, you’re in luck. This is often the most straightforward type to open. You’ll typically need a very small Phillips head or Torx screwdriver. These are often the same tiny sizes used for electronics, like those found in eyeglass repair kits. We recommend laying out the screws carefully once removed, perhaps in a small container or even drawing a diagram, so you know exactly where each one goes back. Losing a tiny screw can be a real headache!
Snap-On or Glued Back Covers
This is where things can get a little trickier. Watches with snap-on backs usually have a small notch or a very thin seam where you can insert a prying tool. Glued-on backs are sealed with adhesive, requiring a bit more finesse. For both, you’ll want a thin, non-marring tool. A plastic opening tool, a guitar pick, or even a dedicated phone repair spudger are good options. Metal tools can easily scratch or damage your watch, so try to avoid them if possible. We found that patience is your best friend here.
Gathering the Right Tools
Having the correct tools makes all the difference. Trying to force a tool that’s too big or made of the wrong material is a recipe for disaster. Researching your specific watch model is key, but here’s a general rundown of what you might need:
- Small Screwdriver Set: For watches with visible screws. Look for precision sets.
- Plastic Opening Tools (Spudgers): These are designed to gently pry open electronics without causing damage.
- Thin Pry Tool or Guitar Pick: Useful for getting under the edge of snap-on or glued covers.
- SIM Card Ejector Tool: Sometimes, the pinhole for a SIM tray can also be part of the back cover release mechanism, or it’s simply a handy small tool.
- Heat Gun or Hair Dryer (Optional): For glued backs, gentle heat can soften the adhesive. Use with extreme caution.
- Suction Cup (Optional): Some repairs may involve lifting the screen, and a small suction cup can help.
The Removal Process: Step-by-Step
Now that you have an idea of what you might be dealing with and the tools you might need, let’s talk about the actual removal. Remember, always go slow and gentle. Think of it like trying to open a stubborn jar – a little careful wiggling is better than a hard yank.
For Screw-Secured Models
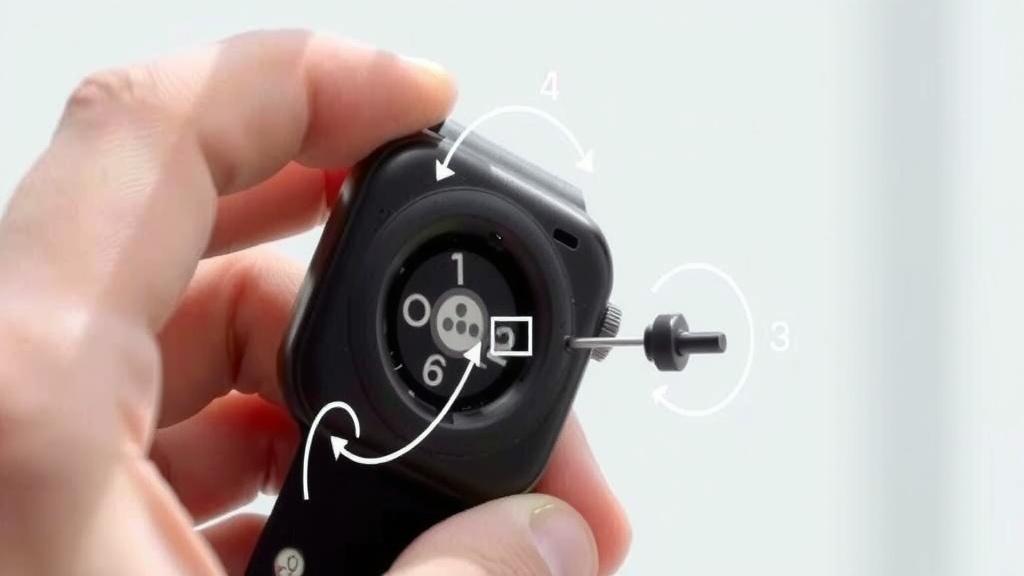
This is often the most predictable. You’ll want to ensure you’re using the correct size screwdriver. Insert it firmly into the screw head and turn counter-clockwise. Most screws will come out completely. Keep them safe! Once all screws are removed, the back cover should lift off or may need a gentle nudge. If it feels stuck, double-check that you haven’t missed a screw or that there isn’t a hidden clip.
For Snap-On or Glued Models
This is where we often see people run into trouble. First, try to find a seam or a small notch. If you see a notch, that’s your entry point. Insert your plastic tool or pick into the notch. Gently try to twist or pry. You’re looking to create a small gap. Once a gap is formed, carefully work your tool around the edge of the watch. You might hear small clicks as the clips release. If it’s a glued back, you might need to apply a small amount of heat. Hold a hair dryer on a low setting a few inches away from the back for about 30 seconds. Then, try your plastic tool again. We found that heating too much can damage internal components, so proceed with extreme caution.
What If It Doesn’t Budge?
If you’ve tried gentle prying and it’s still not coming off, stop. Don’t force it. You could be dealing with a model that is much more difficult to open, or you might be using the wrong technique. We’ve seen people accidentally crack screens or damage internal ribbon cables by being too aggressive. At this point, it’s probably best to search for a teardown video specific to your watch model on platforms like YouTube. Visual guides can be incredibly helpful. Many guides point to professional assistance as a good next step if you’re uncomfortable (Apple Support).
Important Considerations After Opening
Once the back cover is off, take a moment to appreciate the tiny engineering marvel inside. Be mindful of any ribbon cables connecting components. These are delicate. If you’re just replacing a battery, you’ll usually need to disconnect a small cable before you can remove the battery. When reassembling, make sure all seals and gaskets are properly in place, especially if your watch is water-resistant. A poorly reassembled watch can lose its water resistance quickly.
Pre-Removal Checklist
Before you even touch a tool, run through this quick checklist:
- Have you identified if your watch has screws or a sealed back?
- Do you have the correct, non-damaging tools ready?
- Have you backed up any important data from your watch (just in case)?
- Do you have a clean, well-lit workspace?
- Are you prepared to go slowly and gently?
- Have you researched your specific model online if unsure?
Conclusion
You’ve now learned the essentials for safely removing your smartwatch’s back cover. Whether it’s secured by tiny screws or a glued-on seal, remember that gentle pressure and the right tools are your best allies. Always identify your watch’s specific design first and never force anything. If you encounter resistance, a quick search for a model-specific guide or video is your next best step. Taking these precautions helps protect your device and ensures a smoother process. Ready to proceed? Make sure you have your tools and a clear workspace before you begin.
Frequently Asked Questions
Can I use a regular screwdriver to open my smartwatch?
You’ll likely need a precision screwdriver set. Standard screwdrivers are usually too large for the tiny screws found on smartwatches. Using the wrong size can strip the screw head, making removal much harder. We’ve found that eyeglass repair kits often contain the right sizes.
What should I do if the back cover is stuck and won’t budge?
Stop and don’t force it. If it’s a glued-on back, gently applying low heat with a hairdryer might soften the adhesive. If it still resists, it’s best to search for a teardown video for your specific model. Aggressive prying can cause damage.
Is it safe to use heat on my smartwatch back cover?
Yes, but with extreme caution. Gentle heat from a hairdryer on a low setting can help soften adhesive on glued backs. However, overheating can damage internal components. Keep the heat source a few inches away and apply it for short periods, checking frequently. We recommend this only if other methods fail.
Will opening my smartwatch void its warranty?
Often, yes. Many manufacturers consider opening the device yourself to be a violation of the warranty agreement. If your watch is still under warranty and you’re not performing a simple repair covered by the manufacturer, it’s best to seek professional service to avoid voiding it.
How do I reassemble my smartwatch and ensure it’s still water-resistant?
Carefully align the back cover and secure it with screws or by snapping it back into place. Crucially, ensure any seals or gaskets are properly seated and undamaged before closing. Reapplying adhesive might be necessary for some models to maintain water resistance. If you’re unsure, consult a professional.
![7 Best Open Source Smart Watch [2026]](https://smartwatchbest.com/wp-content/uploads/2026/08/7-best-open-source-smart-watch-2026-featured-768x432.jpg)
![7 Best Smart Watch For Heart Patients [2026]](https://smartwatchbest.com/wp-content/uploads/2026/09/7-best-smart-watch-for-heart-patients-2026-featured-768x432.jpg)