How to Put a Screen Protector on a Smartwatch
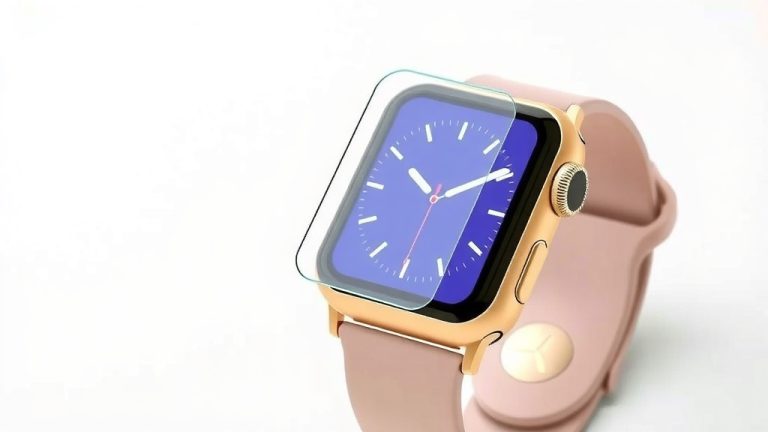
The easiest way to put a screen protector on a smartwatch is to align it carefully over the watch face and press down from the center outward to push out air bubbles. You’ll want to clean the screen first, and work in a steamy bathroom to keep dust away. Patience is your best tool here, so take your time and don’t rush the alignment.
We found that smartwatch screens are small and curved, which makes them trickier than a phone. The perfect fit matters because a poorly placed protector can ruin the touch response or simply peel off within a day. If you are looking to keep your watch scratch-free, basic prep is the secret to a smooth, bubble-free finish that actually stays put.
- Clean the screen with a microfiber cloth and alcohol wipe to remove all oils and dust.
- Use the dust removal sticker that comes in the kit to pick up stubborn lint.
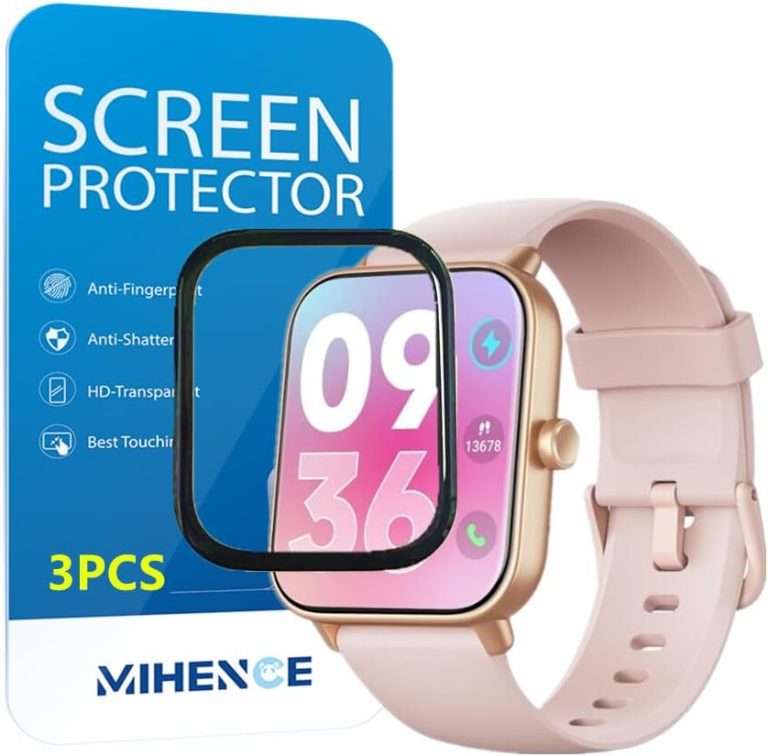
- Align the protector using the watch’s edges or the alignment tool before letting it touch the glass.
- Press from the center out with a card or your finger to squeeze out air bubbles.
- Fix bubbles immediately by lifting the edge and reapplying, or use your fingernail to push them to the edge.
Below, we break down the exact step-by-step process for both flat and curved screens, so you can get a flawless install on your first try. Let’s walk through it together, and you’ll have a perfectly protected watch in about five minutes.
Getting Your Smartwatch Ready for a Screen Protector
You might think you can just peel and stick. But that’s a recipe for dust bubbles and crooked edges. We found that the prep work takes up most of your five minutes. It’s also what separates a lasting install from one that fails by lunch.
Think of it like painting a wall. You wouldn’t roll paint over dirt and expect a smooth finish. The same logic applies to your watch face. A clean surface means the adhesive can grab hold and stay put.
Wash Your Hands First
Your fingers carry natural oils. Those oils transfer straight to the glass. It only takes a second. But that tiny smudge can ruin the bond between the protector and your screen.
Wash your hands with soap and water. Dry them with a lint-free towel. This simple step prevents you from re-soiling the screen right after you clean it. Many users skip this and wonder why the edges lift later. Don’t be that person.
Create a Dust-Free Zone
Dust is the enemy. Small lint particles and pet hair love to land right in the middle of the sticky adhesive. We found that running a hot shower for a few minutes makes the bathroom steamy. The steam weighs down dust particles and pulls them out of the air.
Close the door. Run the shower on hot for two minutes. Then shut the water off. Now you have a calm, humid room that’s practically a cleanroom for gadgets. It sounds odd, but it works like a charm.
Cleaning the Watch Face the Right Way
Now that your hands are clean and the room is steamy, it’s time to tackle the glass itself. You need to remove every trace of oil, dust, and old grime. Even a speck you can’t see will show up as a silver bubble later.
Most screen protector kits include two wipes. One is an alcohol pad. The other is a dry microfiber cloth. Use both in the right order for the best results. Your watch will look brand new before you even open the protector.
Step 1: The Alcohol Wipe
Take the alcohol wipe and gently rub the entire watch face. Move in small circles. Cover every edge and corner. Alcohol breaks down skin oils and dried sweat. It also removes any residue from your daily wear.
Let the screen air dry for about ten seconds. Don’t wipe it off with your finger. You’ll just add new oils. Let the alcohol evaporate naturally.
Step 2: The Microfiber Cloth
Now grab the dry microfiber cloth. Buff the screen until it’s spotless. Check the glass from an angle under a bright light. You’re looking for any smudges or streaks. If you see any, give it another pass.
One important tip: don’t breathe on the screen to fog it up. Your breath carries tiny moisture droplets. Those can leave mineral spots. Just use the cloth dry. Experts say a lint-free cloth is the safest bet for delicate electronics (Consumer Reports).
Dealing With Stubborn Dust and Lint
Sometimes a regular cloth just doesn’t cut it. You might see a tiny white speck that won’t budge. That’s where the dust removal sticker comes in. It’s usually a bright yellow or blue square in your kit.
Peel the sticker off its backing. Gently press it onto the glass. Lift it away slowly. The sticky surface picks up dust and lint without leaving residue. We found this method works better than canned air for small watch screens. Canned air can blow dust around, not remove it.
- Skip the canned air unless you have no other option.
- Use the sticker right before applying the protector for maximum effect.
- Do a final visual check from all angles before you peel the protector’s backing.
Mastering the Alignment for a Perfect Fit
Alignment is where most people mess up. Your watch is round or square, and the protector needs to match those curved edges perfectly. A tiny shift means the protector hangs off the side or leaves a gap. Once it touches the glass, moving it can be tricky.
We recommend holding the protector by the edges or tabs. Study the watch face first. Find the top and bottom. Look for the crown or button and use it as a guide. This visual anchor helps you line things up.
Using the Built-in Alignment Tool
Many newer kits include a plastic frame or tray. This tool snaps onto the watch body. Then you just drop the protector into place. It takes the guesswork out of centering. If your kit includes one, absolutely use it.
Research shows that using alignment tools reduces the odds of misplacement by a wide margin. The frame holds the watch steady. It also keeps the protector level. Just press down and you’re done. It’s the easiest path to a perfect install.
Eyeballing It With the Hinge Method
No alignment tool? No problem. Use the hinge method. Peel the backing off one side of the protector, say the bottom half. Keep the top half’s backing on. Place the exposed sticky side onto the watch, aligned with the bottom edge.
The top backing acts as a hinge. You can adjust the top left or right until it looks perfect. When it’s centered, press down on the top half while slowly pulling the backing away. This method gives you total control and avoids full premature contact.
Applying the Protector Without Trapping Air
You’ve done the prep. You’ve aligned it. Now for the main event. The moment the adhesive touches the glass, you need steady pressure and a slow, deliberate motion. Don’t slam it down. Ease it into place gently.
We found that starting from the center of the screen and moving outward is the most reliable technique. This pushes air ahead of the adhesive. It prevents the dreaded bubble pockets that sit right in the middle of your display.
Press From the Center Outward
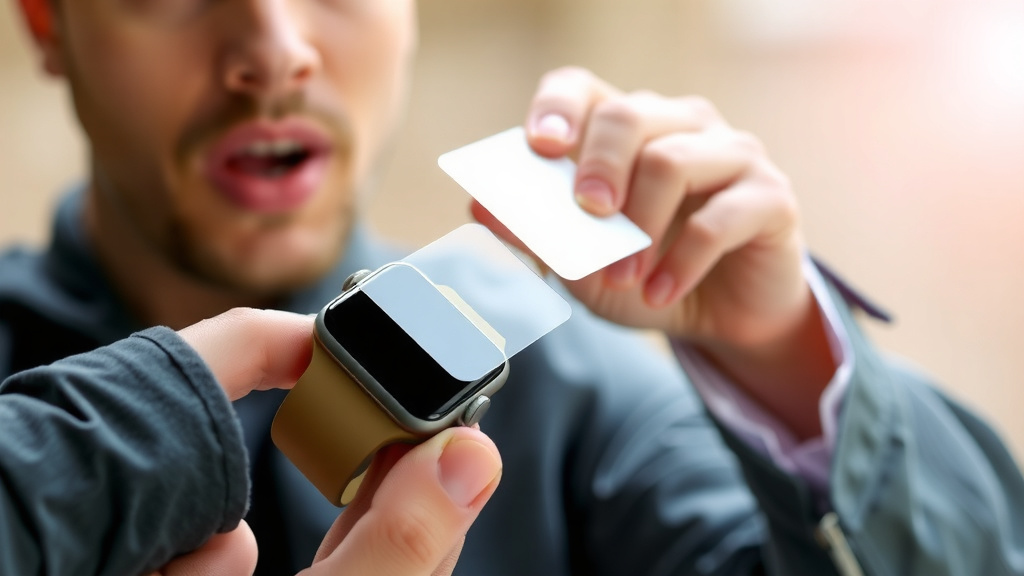
Use your thumb or a soft card. Begin at the exact middle of the watch face. Apply firm, even pressure. Glide your finger slowly toward the edge. Stop at the bezel. Repeat this motion for all four directions: up, down, left, and right.
This simple motion forces trapped air to escape through the sides. You’ll see the adhesive bond turn from cloudy to crystal clear as you go. It’s satisfying to watch the coverage spread evenly across the glass.
Using a Credit Card or Squeegee Tool
Some kits include a small squeegee. Others don’t. If you have one, use it. Wrap it in a soft cloth first to avoid scratching the protector’s surface. Then drag it from the center to the edges with steady strokes.
If you don’t have a squeegee, a clean credit card works fine. Wrap it in a piece of cling wrap or a lens cloth. The card gives you a firm, straight edge that presses the adhesive down effectively. This is the same technique many repair shops use for phone screens.
Fixing Air Bubbles Like a Pro
Air bubbles happen. Don’t panic. Most bubbles vanish within 24 hours as the adhesive settles. But some need a helping hand. The key is to never leave a bubble alone for too long. Dust can get trapped under the edge and make it permanent.
We found a few simple fixes that work almost every time. Try them in order before giving up. You can usually save the install without starting over.
Pushing Small Bubbles to the Edge
Start with your fingernail or a soft card. Place pressure right behind the bubble. Push it slowly toward the nearest edge. Sometimes the bubble pops when it reaches the side. Other times it escapes through a tiny gap.
For tiny microbubbles, pressure alone often works. Press firmly for ten seconds on the bubble. The adhesive is soft enough to absorb the air. If it’s a bigger bubble, push it out instead of pressing it directly.
Lifting the Corner to Reapply
If a bubble is stubborn or sits in the middle, lift the nearest corner. Use a fingernail or a plastic pick. Gently peel the protector back until you reach the bubble. Then lay it back down slowly, using your thumb to smooth it out.
This method works well but carries risk. You might pick up dust during the lift. If that happens, use the dust sticker again on the exposed glass before reapplying. A tiny spec of dust is better than a giant air pocket, but removing it is cleaner.
Deciding When to Start Over
Sometimes a bubble case is hopeless. Excessive dust or a bent protector means a fresh start. Don’t try to rescue a protector that’s covered in lint. It will never look right. We recommend using a second protector from the kit if the first one fails badly.
Be honest with yourself about the result. If you see more than three visible bubbles after ten minutes of work, pull the whole thing off and try again with a new one. Better to waste one protector than wear a cloudy watch all day.
Dealing With Curved Smartwatch Screens
Some watches have flat glass. Others have gently curved edges. Curved screens are trickier because the protector has to bend around the radius. A flat protector on a curved screen leaves a halo effect — that ugly white ring around the rim.
Many modern smartwatches like the latest Apple Watch and Samsung Galaxy models feature curved glass. The industry calls this 2.5D glass. It’s flat in the middle but slopes at the edges. You need a protector designed specifically for this curvature.
Check the Protector Type Before Buying
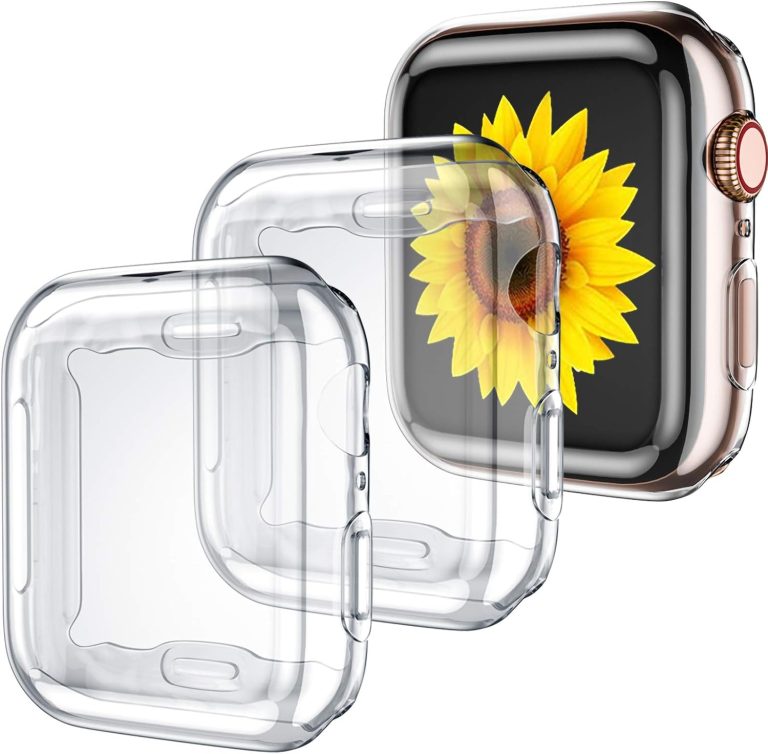
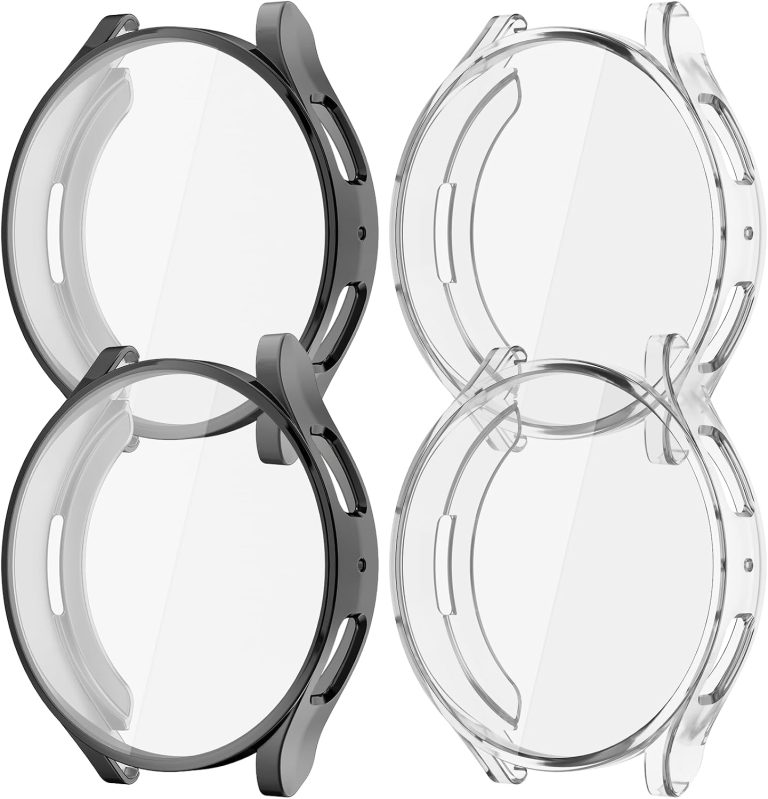
When you shop, look for descriptions that mention “3D curved” or “full coverage.” These protectors have adhesive across the entire surface. The edges are pre-curved to match the watch. They cost a bit more, but they fit right and won’t peel.
Flat protectors work fine on flat watches. But on curved glass, they only stick at the center. The edges stay loose and collect dust. We found that choosing the right protector type is 90% of the battle for curved screens. The install itself is the same.
Wet Application for Curved Glass
Some curved glass protectors use a wet application method. You spray a small mist of solution on the screen before placing the film. This lets you slide the protector around freely until it’s perfectly centered. Then you squeeze out the liquid with a squeegee.
The wet method takes longer. The liquid needs to dry or cure for several hours. But it offers a flawless finish on tricky curved surfaces. Many users find it the only way to get edge-to-edge coverage without air pockets. Just follow the kit’s instructions closely.
| Protector Type | Best For | Application Method |
|---|---|---|
| Flat tempered glass | Older flat watch faces | Dry, peel and stick |
| 3D curved tempered glass | Modern curved screens | Dry, center press |
| TPU film | Curved and flexible faces | Dry or wet, squeegee |
Testing the Touch Screen After Installation
You’ve got the protector on. It looks clean. Now you need to make sure the touch screen still works perfectly. Smartwatch screens are sensitive and small. A thick protector can sometimes reduce responsiveness. Test right away while the adhesive is still fresh.
Turn the watch on. Unlock it. Swipe across the screen. Tap a few apps. Drag a slider. Every action should feel as smooth as it did without the protector. If you notice any lag, press down firmly on the protector to seat the adhesive better.
Common Touch Screen Issues and Fixes
Sometimes the watch ignores taps after a new protector. This usually happens when air bubbles sit under the active area. Push them out. If the problem persists, the protector might be too thick. Check the product description for the thickness rating.
Another trick is to restart your watch. The system recalibrates the touch sensors after new contact with a surface. A simple reboot often clears up any weirdness. If it doesn’t, you may need a thinner protector or a film instead of glass. Many users prefer thin TPU films for maximum touch sensitivity.
Conclusion
You have the steps now. With a little patience, you can protect your smartwatch like a pro. Start in a steamy room, clean the glass thoroughly, and align the protector carefully before pressing it down from the center outward.
You already know how to fix bubbles and handle curved screens. That means you are ready for the most common issues you might face. We recommend grabbing your kit and giving it a shot right now. It will take about five minutes. Your watch will look better and stay scratch-free for years.
Frequently Asked Questions
Can you use the same screen protector on multiple smartwatches?
You should not reuse a screen protector once it is installed. The adhesive loses its stickiness the moment you pull it off. It will also pick up dust and lint during removal, which makes it impossible to reapply cleanly. Buy a new one for each watch.
Why does my smartwatch screen protector keep peeling off at the edges?
Peeling edges usually mean the protector is the wrong shape for your watch. Your watch face might be curved, and you are using a flat protector. A 3D curved or TPU film will hug the edges much better. Make sure you also press the edges firmly right after installation.
How long should you wait before wearing your smartwatch after applying a protector?
We recommend waiting at least 30 minutes. This gives the adhesive time to fully bond with the glass. You should avoid swimming or heavy sweating for about 24 hours so the edges stay sealed. A quick wait now prevents bigger problems later.
Is it better to use a liquid screen protector for a smartwatch?
Liquid protectors are another option, but they work differently from film or glass. They don’t protect against scratches as well. They also don’t have bubbles, which seems nice. The trade-off is less impact protection. We found that a quality glass or TPU film is a more solid choice for daily wear.
What if the screen protector is slightly too small for the screen?
A small gap is normal if you have a curved screen. The protector needs to cover the flat display area and leave the curved edges exposed. It will look fine, as long as the gap is even. If the gap is on one side only, lift the protector and re-center it right away.